How to Increase Student Energy Level in Shakespeare Performances

Hesitant, inexperienced, and nervous student actors often rehearse and perform with all the urgency of a snail creeping unwillingly to school. They find it difficult to understand the importance of energy without concrete instruction. Thus, giving them an anchor of various energy levels often help elucidate the subject for them.

Here is the script I use for this activity. I model each level by doing the activity with the students.

Okay, this activity is called the Seven Levels of Energy.
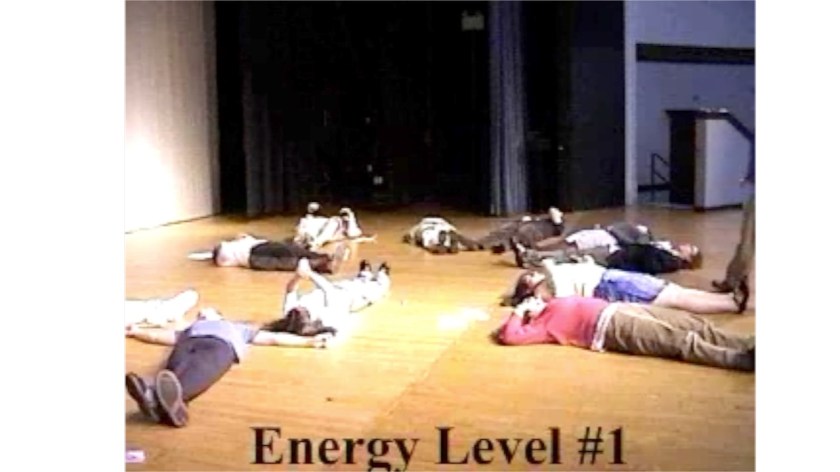
No Energy!

Energy Level #1

So, everyone lie down on the floor. Yes…on the floor. On your backs. Eyes closed. This is energy level number one. Imagine that gravity, an overwhelming force, pushes you into the floor. You are like a pool of liquid. You are so tired that you can barely lift your fingers. Go ahead, struggle to lift a finger. It’s Monday morning and you struggle to get out of bed at energy level number one.

Energy Level #2

Fortunately, or unfortunately, depending on how you look at it, we can’t stay at energy level number one. We have things to do. So, at energy level number two, which takes all of your effort and concentration, struggle to your feet. That’s right, do that now…struggle to your feet where you can barely stand because it feels like you have a thousand pounds on your back. You even stagger a bit trying to maintain your balance. Nope, you can’t talk at energy level number two, you can barely stand. Feel that weight on your back. Okay, good.

Energy Level #3

Well, we can’t stay at energy level number two, either, so let’s go find the coffee machine. At energy level number three, if we concentrate really hard, we can move from point A to point B. We may sway a bit, side to side because we’ve still got that heavy weight on our back. Nope, still can’t talk at energy level number 3, it takes all our concentration to get to one spot. Then we have to pause, rest then get to the next spot.

Energy Level #4

Now that we’ve had our coffee, we can move onto energy level number four. This is normal everyday walking around with no particular purpose. Oh, there’s people in this world. Yes, now we can talk to them. “Hey, how’s it going? Good. You?” Yup, just walking around with no particular purpose, no urgency. Not like you guys, of course, but perhaps some of my less motivated students…. Just walking around normally. Ho-hum. The thing is, with energy level number four, nothing gets done. There are no stakes, nothing matter, no one cares. Until we get to energy level number five.

Energy Level #5

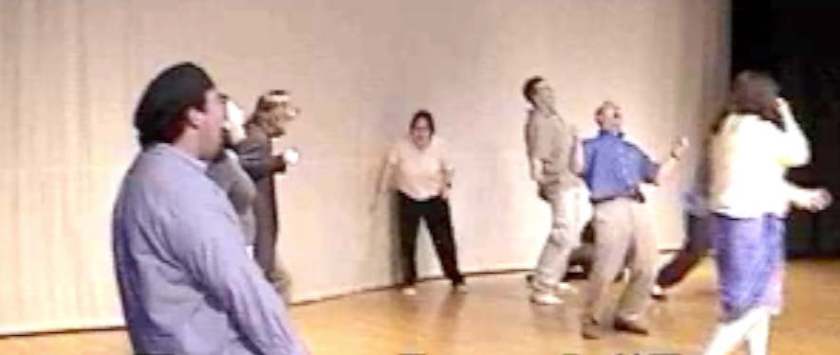
Okay, now we’ve got purpose! We have goals to accomplish! I need to move this chair over here. I need to carry this backpack over there. Very Important! This needs to be done and done correctly or there will be consequences…significant consequences. I need to come over here and tell Jack that our performance today is essential to our success! Very important! Move with purpose. Move with urgency. Pick up the pace. I have clear objectives, clear goals. I’m motivated.

Energy Level #6

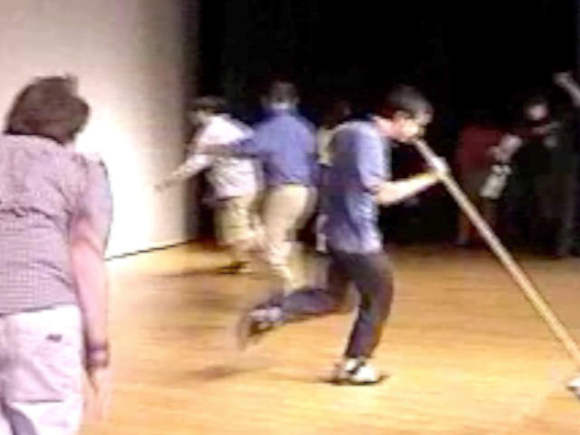
When we get to energy level six, we’re late! We’ve got to run! It’s critical! Lives are at stake! Our future! Run, run, run! This has to be done NOW!! The essay is due in 15 minutes! I need to score the winning touchdown! Go, go, go! Something really bad is going to happen if we don’t get this done! High stakes! We must not fail!

Energy!!!

Energy Level #7

When we get all worked up, we sometimes move to energy level number seven where all we can do is scream: “AHHHHHHHHRGGGGHHHHHH!” and collapse to the floor. Back to energy level number one. We’re exhausted again and feel heavy. Kind of feels like most days of my life…

Debriefing

After completing the activity, I gather students in a circle to talk about it. I always ask, in theater, which energy level should we avoid like the plague? Inevitably they say, “Number one!” to which I reply, “My friend, Mark, once played Julius Ceasar. After they stabbed him he had to lie on stage for 15 minutes of Mark Antony’s speech. He was in three shows and was tired. I often had to kick him so he would stop snoring. That’s pretty much energy level number one”

“Okay, energy level number two.”

“Imagine you are wounded, or really old. I’ll bet you would walk like that…hunched over, feeling like you had a heavy weight on your back.”

“Okay, four! Yeah, energy level number four, avoid that.”

Exactly. Energy level number four doesn’t “read.” It communicates nothing. It’s emotionless. One, two and three can show several different emotional states. Six and seven, definitely. But four? Boring. Uninvolved. Purposeless.

I suggest focusing on energy level number five. Make sure your character work to accomplish something. Know what they want and that getting it is important to them. If your characters don’t care, the audience won’t care and they’ll be bored with your scene.

Think of theater like the Arnold Schwarzenegger movie Kindergarten Cop. Has anyone seen it? No? I know, I’m getting too old. Anyway, in this movie, Arnold plays a police officer. He’s used to getting what he wants, justice, by beating up bad guys. However, when he takes an undercover job as a kindergarten teacher, he can’t beat up little kids, so has to learn to use LANGUAGE to achieve his goals. That’s what theater is all about. Think about how your character uses words to accomplish goals.

Bonus Strategies

Although the Seven Levels of Energy activity works well to communicate the theory, sometimes students need some additional practice to put the concept into practice. If I see a group hovering around energy level number four, I usually give them two additional challenges.

Four Corners

I place each of the scene members in the four corners of the performing space…the farther apart, the better. If we rehearse in the auditorium, I tell them to stand way out in the corners of the seats. “Okay,” I say. “Stay in character and project your lines across the space to your scene partners.” While this challenge works well for “soft talkers” as well, it helps to increase the energy with which they speak.

Speed-through

Another strategy I use to increase energy levels is the speed-through. I tell students to literally RUN through the scene, speaking as quickly as possible without losing any of the sounds of their words. Imagine that you are racing another group performing the same scene. If you drop any words, you’d have to restart, so maintain line integrity, but GO FAST! This often creates the urgency necessary to transform a lackluster energy level to a more dynamic one.

Fun Fact

I was presenting this activity at a conference in Denver one year and during energy level number six someone moved my presentation notes. I never found them. Luckily I had my presentation pretty well anchored in my head so we were able to press on without any problems. It was a fun group and well worth losing notes!

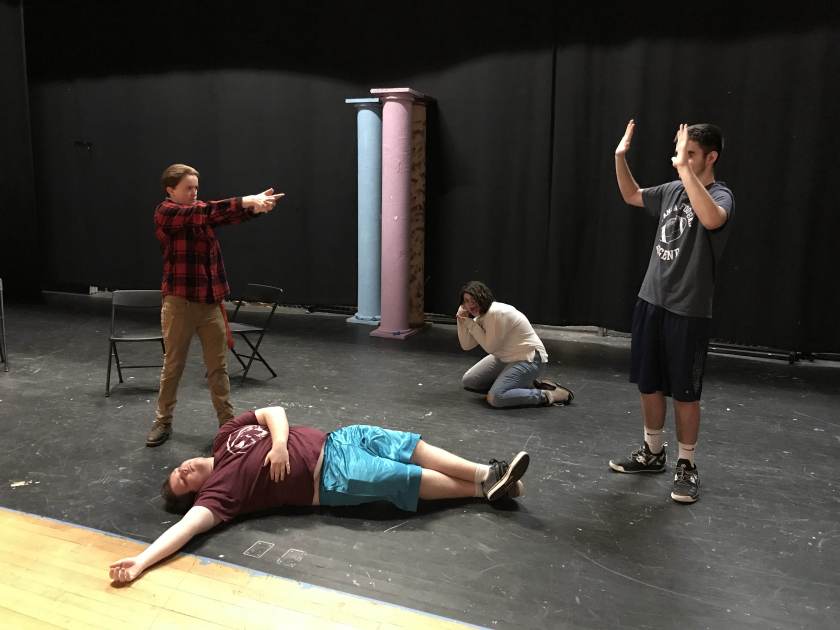
Acting Shakespeare can understandably intimidate students and inexperienced actors. This reluctance often translates into dull scenes that do little to combat the notion that Shakespeare plays are lively and dynamic. However, these teaching strategies will help reticent students understand the appropriate energy level necessary for entertaining scenes!

Fun Shakespeare Activity for Teaching the Use of Space

Most…okay all, of the time when I begin using performance to teach Shakespeare in my classroom, the actors look like they’re playing hacky-sack rather than performing a scene. That is to say, they stand in a circle and read to each other. At first, I don’t mind. I don’t want to burden them with too much too soon. After all, just getting the text can be challenging enough. However, as we move deeper into the play and closer to performance time, I want them to be able to use space and visual images to communicate ideas as well as the language itself.

I begin by showing the Queen Mab scene from the Zeffirelli Romeo and Juliet. I ask students to pay attention to the colors and the use of space by the actors. In particular, where do actors stand in relation to each other and how do these elements change over the course of the scene.

For those who know the scene, it begins with many warm colors: oranges and reds, and Mercutio appears above everyone commanding attention like an actor on stage. Mercutio’s language at the beginning reminds us of Cinderella and the Fairy Godmother with images of a carriage drawn by “a team of little atomies.” As the images grow darker, however, so does the mise-en-scene. Mercutio jumps down from the ledge, seems startled with his own line of “drums in his ears,” then separates himself from the rest of the group. The next shot reveals Mercutio alone and downhill from everyone bathed in blue light, with his words echoing, “This is she…this is she….”

On a basic level, we can talk as a class how the scene moves from bright and orange with Mercutio elevated and surrounded by friends to dark and blue with him lowered and isolated. Thus, the director reinforces the written text with a visual one.

After analyzing this scene, we synthesize one. For this process, we play a game called “Screaming Sculptures.” First, I ask how many dimensions in a given space. While metaphysical answers may vary, the class comes to the agreement that space can be defined through width, length, and height. So, I tell them, in our sculptures, we want to do our best to use as much of that space as possible.

Students form groups of four or five. I will then give each group a scene that they will depict. My favorites include a baseball game, a rock concert, a bank robbery, and a day at the beach. One at a time students scream, (really just to add some more energy!) then run to the performing space, strike a pose, and freeze. The combination of all the poses should depict the scene that the rest of the class will try to guess. In addition, they should attempt to use as much of the space as possible.

Each group establishes an order of appearance…that’s all they can talk about. After the first student screams and strikes a pose, the other students must figure out what the previous students are depicting and build from that scene.

For example, in our bank robbery example above, the first student may strike a pose of a person holding a gun. The second person may run in, then stand in front of the gun with his or her hands in the air. Person number three may see that a length of the space has been covered, but not the height, so he or she may fall flat on the floor like they’ve been shot. Person four may decide that the mid-level space off to the side has not been used, so he or she may kneel behind a desk pretending to call the police.

After each group member strikes their pose, I tell the group to stay frozen, then ask the class to guess the scene and also explain each pose. At this point, I tell the sculptures that they may relax a bit, (it can be tough to hold some positions for a long time) but to stay in their general space.

Then, as a class, we critique the art. “How was their use of space lengthwise? Width? Height?” At first, students struggle to know what to do, or how to use the space, so I will offer suggestions. “What if you moved over here? What could you do to use this level?” Many times I ask the class for suggestions. After discussing the tableau, we repeat the process for each group.

I love the question “what could you do to use this level?” It helps generate some stage “business” ideas. I often tell students about a part I played in As You Like It. During rehearsal, I couldn’t really figure out what to do for stage business during the wrestling scene. No one was using the floor level, so I decided that my character would begin a betting pool and start throwing money on the floor. This created an entire subset of activity for the scene. The prop master even had money printed up with the director’s face on it!

To make the activity more complex, I sometimes facilitate “Advanced Placement Screaming Sculptures.” Here I will either give the group a vague scenario that they have to create like, “This is a family reunion portrait. Not everyone is happy to be here. Go.” Then they have to figure out, without talking, how to communicate this idea using the space. It also provides an opportunity to talk about character development. What can we learn about characters by their posture? When students find themselves truly ready for a challenge I simply tell them, “Create a tableau.” Again, without talking, one character strikes a pose and the other group members follow one at a time building from each other to create the sculpture. Then the rest of the class tries to interpret it.

This activity also works well to sort the chaos of large scenes. I remember directing Merry Wives of Windsor and trying to block the last scene. I think every character in the play is in that scene. Maybe even a few from Henry V. It looked like a flash mob. I finally said, “Okay, you’ve got 30 seconds to sculpt this scene…go!” Actors looked at each other, looked at the space, figured out their relationship to each other, and, suddenly, the ending became clear, tidy, and in the words of Scuttle, “an aesthetically pleasing configuration of” actors!

When teaching Shakespeare, incorporating the use of space to underscore the written text with a visual text can help students really see the relationships among the characters. So give it a try and let me know how it goes!

Silly Sounds: Teaching Shakespeare Voice and Language

Many students initially object to Shakespeare because it sounds funny.  But funny in a bad way. Like, “hmmm, this milk smells funny.” This activity spins funny in a good way.  Like, “that scene from Comedy of Errors sure was funny!”  By using a non-traditional and non-serious approach to the text we can demystify Shakespeare, improve students’ diction, and increase their familiarity with the language.

A Brief Stint into Pedagogical Theory

Before we delve into the activity, we should discuss some pedagogical theory. ( Don’t worry, this won’t be as long and boring as a faculty meeting.)  Learning needs to happen through repetition. However, when repetition gets boring our brains check out so although we think we’re getting repetitions we’re really just wondering what we’ll do when Game of Thrones ends.  Thus, most efficient learning comes when we can engage in experiences similar enough to facilitate learning BUT varied enough to keep in fresh.  (Unlike the funny smelling milk.) That’s one of the reasons I love this activity.

Speak the Speech

All that you need for this activity is some text, a sense of adventure and trusting nature.  Essentially, students will read a text in a variety of ways. I usually place them in pairs and have them switch of reading when they come to a “major punctuation mark” like the end of a sentence, a colon or semi-colon.  That way they can get a bit of a break and, also, listen to someone else reading.

For all of these directions, I usually explain them briefly, then immediately say “Off you go,” then start modeling the directions myself.

First, I tell them to read while waving their hands in “dramatic flourishes.”  This does nothing to improve their reading but it increases the energy. I also have an unscientifically proven theory that this makes them feel more like real Shakespearean actors.  

Next, I tell them to pronounce ONLY the consonant sounds.  After I remind them what a consonant is, I model a line. For example, the line “This thing of darkness I acknowledge mine” would sound like “Thsthngfdrknsscknldgmn.”  It’s like Pig Latin but more chaotic.

Then, you guessed it…vowels.  This gets even sillier. “I have of late but wherefore I know not” sounds like,” I-a-o-a-u-e-o-io-o.”  

After vowels I usually have students vacillate through their vocal range.  The begin a line talking really low like Darth Vader and gradually, over the course of the line talk in a high voice like Michael Jackson, then back down again.

Then I get really crazy.  Sometimes I have them sing…opera, rap, country twang.  Then in an “outrageous accent. Really OUTRAGEOUS.” Some students become a bit hesitant here, but others leap right into it.  There’s usually quite a bit of giggling going on at this point. From the students, too. If so, I know the activity has been a success.

I always end with a whisper.  But I tell them “not to lose a single sound.”  This variation fosters precision in their articulation.  It also helps to restore a bit of order and focus. Chaos can be great but needs to be reigned in before we can shift our focus to scene work.

At the beginning of a Shakespeare unit, I do this activity as a warm up about twice a week.  I see a dramatic improvement in the fluidity of their reading and the clarity of their diction.  Give it a try and be sure to send me a recording of the outrageous accents!

https://youtu.be/5gmXKl4FwCk

Check out some student examples!

Fun Activity for Teaching Shakespeare Plots

Why Teach a Plot Summary?

Teaching Shakespeare can be hard; learning Shakespeare can be even harder.  The demands of vocabulary, syntax, plot, and sheer volume of words can overwhelm young brains accustomed to processing bite-sized text. Student brains can often crash attempting too much too soon with a Shakespearean play. They are like web browsers taxed with too many open tabs. Beginning with a plot overview engages all learners and relieves anxiety while introducing the characters and plot lines; thus, freeing brain power to focus on the complexities of language in future lessons.

“Casting” the Play

To begin, assign as many roles as possible.  I will often write the major characters on scrap pieces of paper or occasionally grab a stack of “Hi, my name is….” stickers from the office. When I have time, a particularly creative burst of energy, or a class that really needs strong visual references, I make large name cards that can be worn around the neck.  I find including smaller characters like servants or messengers unnecessarily complicates the plot lines; however, small parts often engage more reluctant thespians. So I often include parts like, “The bush that Romeo hides behind” or, for Twelfth Night, “The Bow, “The Stern,” “The Mast” and “The Shipwrecking Storm.”

I employ various strategies for distributing roles.  Sometimes, I have students pick parts from a hat. Other times I “rig” the drawing when I know that either someone would serve as a marvelous Mercutio, or, terrified of performing, they would make a terrific tree from which Ariel could be rescued.  In addition, sometimes I try to get everyone a role, or, with smaller classes, two roles, and other times I promise that non-recruited students will receive roles in the future.

Action!

After parts have been cast, read a plot summary.  I like the ones from Shakespeare for Dummies.  They impart a sense of humor and aren’t too detailed…although at times I find myself adding more detail if I think that students are following the plot well.  As I read the summary, students get up and improvise that part. For example, I would read, “Duke Orsino sends letters to Lady Olivia, who rejects them because she is mourning her brother.”  I would then prompt the student playing Orsino, “Hey, send her this letter. [The piece of scrap paper I’m waving around my hand] Give it to that guy, he’s the messenger.” Orsino usually takes the letter and hands it to the other student and direct the messenger:  “Okay, go give it to Olivia over there. Okay, good. Now Olivia…reject it.” At which point, she either puts up her hand, drops the letter on the floor, or, ideally, she rips it up dramatically then hurls it at the messenger. Progress through the summary, reading, directing, encouraging and complimenting.  After finishing, check for understanding. Ask questions for the class to answer, or see how much of the play they could do again without prompting.

Bonus Tip for Creating Culture

Years ago I participated in a Shakespeare workshop with a theater out of Lenox, Massachusetts, and Kevin, the director, gave me some of the most powerful educational advice:  “Don’t be good at it!” I found this liberating. “Wait…I don’t have to be good at this? I can just wing it?” Suddenly my brain and heart were free to fully experience the activity without worrying about getting it right.  Let’s face it, ALL learning is failure. If you didn’t fail, you didn’t learn…you already knew it. Thus, focusing on the experience, not “getting it right” helps create a growth mindset culture.

So give it a try! Post your questions, reactions, and discoveries in the comments! You can check out a video version of this post below!